The Print Shop: cards, signs and banners
Activities › Making things and work
The Print Shop was David Balsam and Martin Kahn’s program for making things to print, published by Broderbund in 1984 for the Apple II and soon for most home computers. With a few menus and no drawing at all, anyone could make a greeting card, a sign, a letterhead or a banner many feet long, from its borders, its pictures and its eight fonts, and print it on the dot matrix printer of the house. It was one of the best selling programs of the time, and for many families the reason a computer and a printer were worth having: the birthday cards, the signs of the school fair and the banners of the parties of the eighties came out of it.
This page sets The Print Shop up for an ImageWriter, makes a birthday card of its own design, a sign and a banner, and plays with Screen Magic, printing each. izapple2 writes what goes to the printer to a file, and imagewriter2 draws it on paper, dot by dot, as the ImageWriter would.
What you need
The Print Shop side A.woz, the program, from the woz-a-day
collection of the
Internet Archive: download The Print Shop (woz-a-day collection).zip and
take it out of it. A WOZ file records a diskette bit by bit, its copy
protection included, so it is the disk Broderbund sold. ./fetch-disks.sh
in this repository downloads it into disks/ and checks it. The Print Shop
saves its setup on its own disk, and izapple2 writes it into this file, as a
drive would on the diskette; ./fetch-disks.sh sees the file changed, and
downloads it again, without it.
imagewriter2, to see what was printed, a program in Go that reads the
codes of the ImageWriter and draws the paper as a GIF picture. With
Go installed, this draws all that was printed in
printer.out, one printout after the other on a continuous paper, as it came
out of the printer:
go run github.com/ivanizag/imagewriter2@latest -gif paper.gif < printer.out
The manual of a later version, the Broderbund Print Shop Manual 1989 for the Apple II, is on the Internet Archive, with the reference card of its graphics.
The machine
An Apple ][+ with a printer and a disk drive:
- the 6502 processor at 1 MHz and 48 KB of memory, what The Print Shop needs;
- the keyboard of the ][+, which types only capitals;
- an Apple Parallel Interface Card in slot 1, with a printer that is a file:
what the card prints goes to
printer.out, in the folder izapple2 runs in; - a Disk II controller card in slot 6, with The Print Shop in drive 1.
izapple2 -model none -board 2plus -cpu 6502 -screen color \
    -rom "<internal>/Apple2_Plus.rom" \
    -charrom "<internal>/Apple2rev7CharGen.rom" -forceCaps \
    -s1 parallel,file=printer.out \
    -s6 'diskii,disk1=disks/The Print Shop side A.woz'
The Print Shop is used with the keyboard: the arrow keys ← and → move the bar of a menu, up and down, Return chooses, and Escape goes back to the menu before. It shows how each choice looks as the bar moves.
Start The Print Shop
-
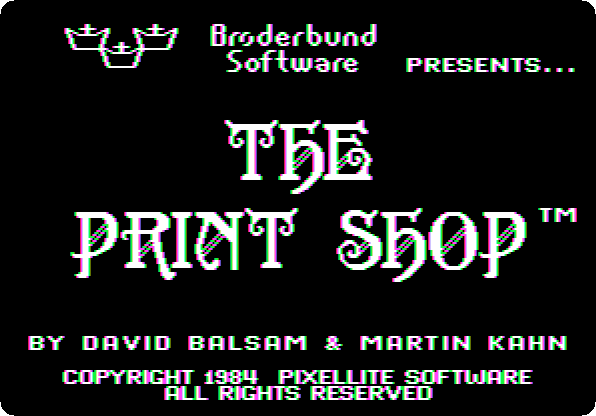
Start izapple2 with the command above. After a few seconds of the drive, the title: Broderbund presents The Print Shop, by David Balsam and Martin Kahn, copyright 1984 Pixellite Software.
-
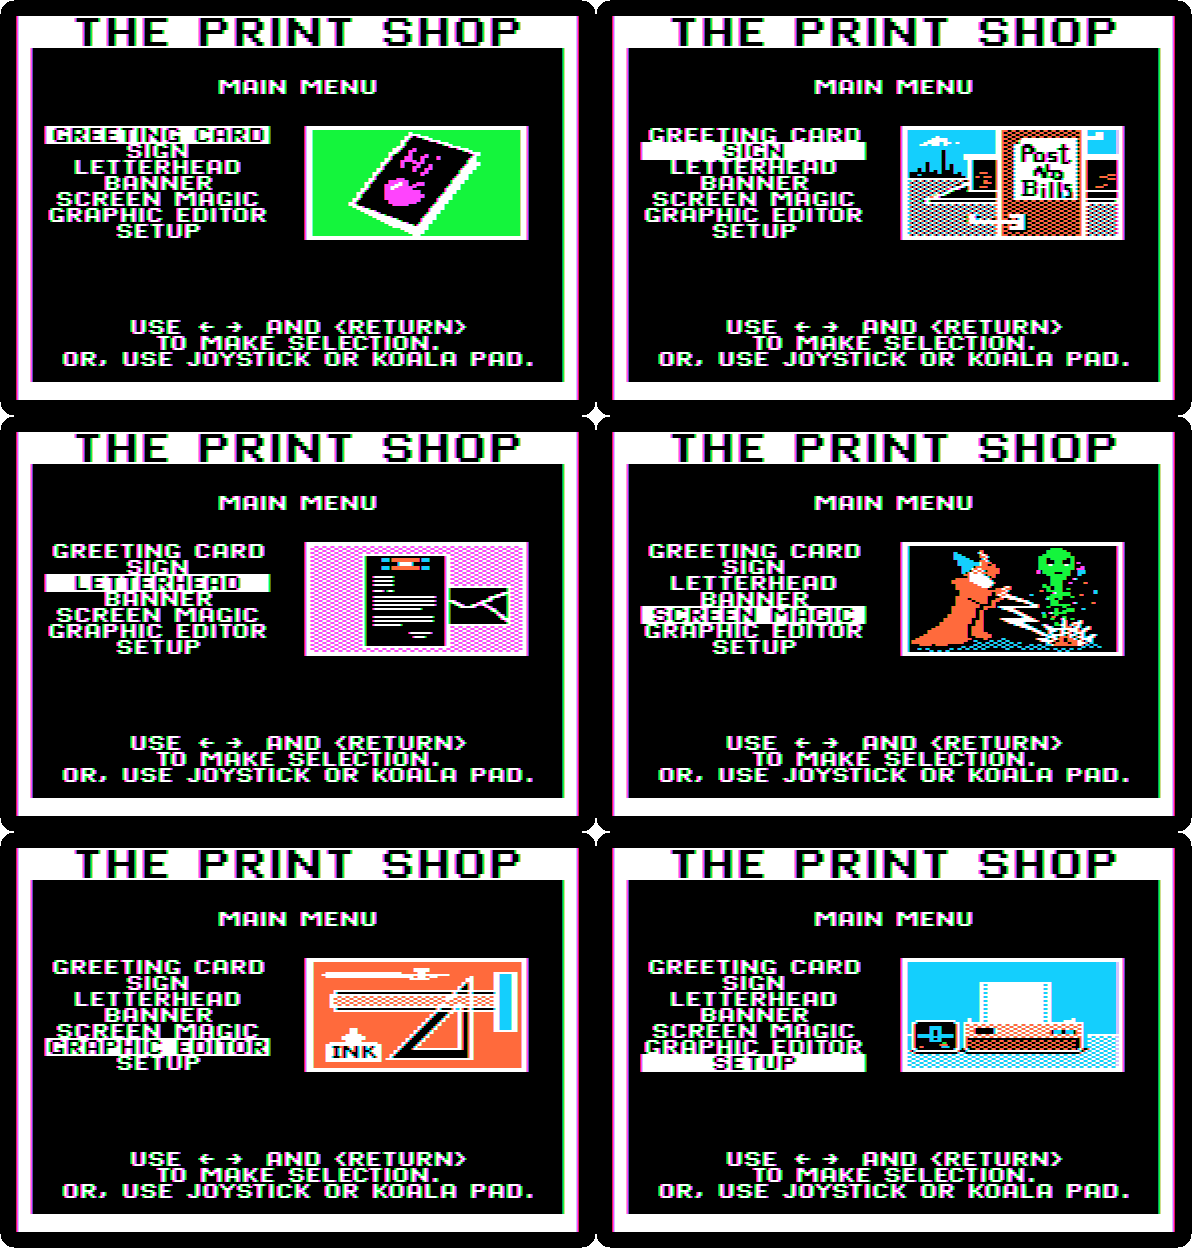
Press → to go down the main menu. The picture at its right shows what each choice makes: a greeting card, a sign, a letterhead, a banner, the patterns of Screen Magic, the editor of its pictures, and the setup of the printer.
The printer
The Print Shop drives each printer of its time with codes of its own, and needs to know which, and on what card, before it prints.
-
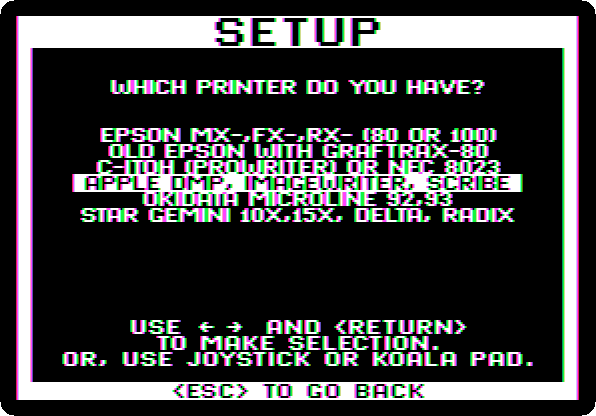
Choose Setup, the last of the main menu, with Return. The printer: the bar starts on the Epson MX the disk was set up for; press → three times, to Apple DMP, ImageWriter, Scribe, Apple’s printers, and Return.
-
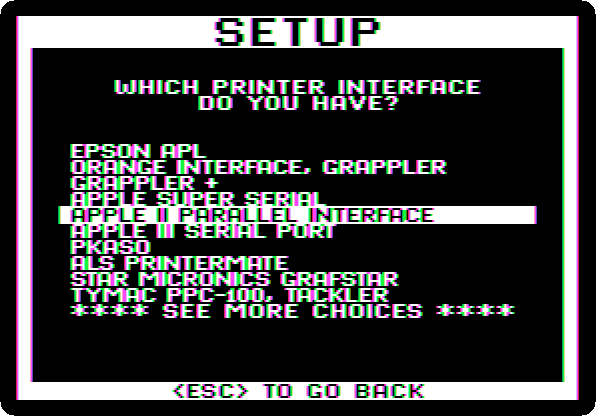
The card, the Apple II Parallel Interface of slot 1. The cards are on two pages, and the bar starts on the second, on the Micromax the disk was set up for: press ← three times, to See more choices, and Return, for the first page, then → five times, to Apple II Parallel Interface, and Return. Once the setup is saved, the bar starts on it.
Then Return for slot 1, ← and Return for one disk drive, and Return to test the printer. It prints a line:

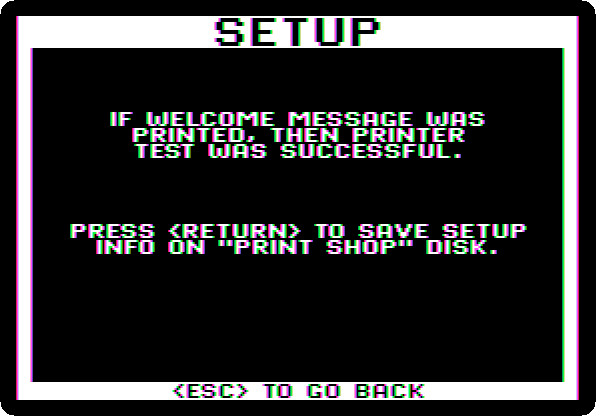
A welcome printed means the setup is right, and the program offers to save it on its disk. Press Return: it saves it, in the file of the disk, and goes back to the main menu. The Print Shop remembers it from now on, every time it starts.
A greeting card
-
Choose Greeting Card, the first of the main menu, and Return for Design Your Own, not one of the cards it has ready. A card is folded from one sheet: a front, an inside, and a line on the back.
-
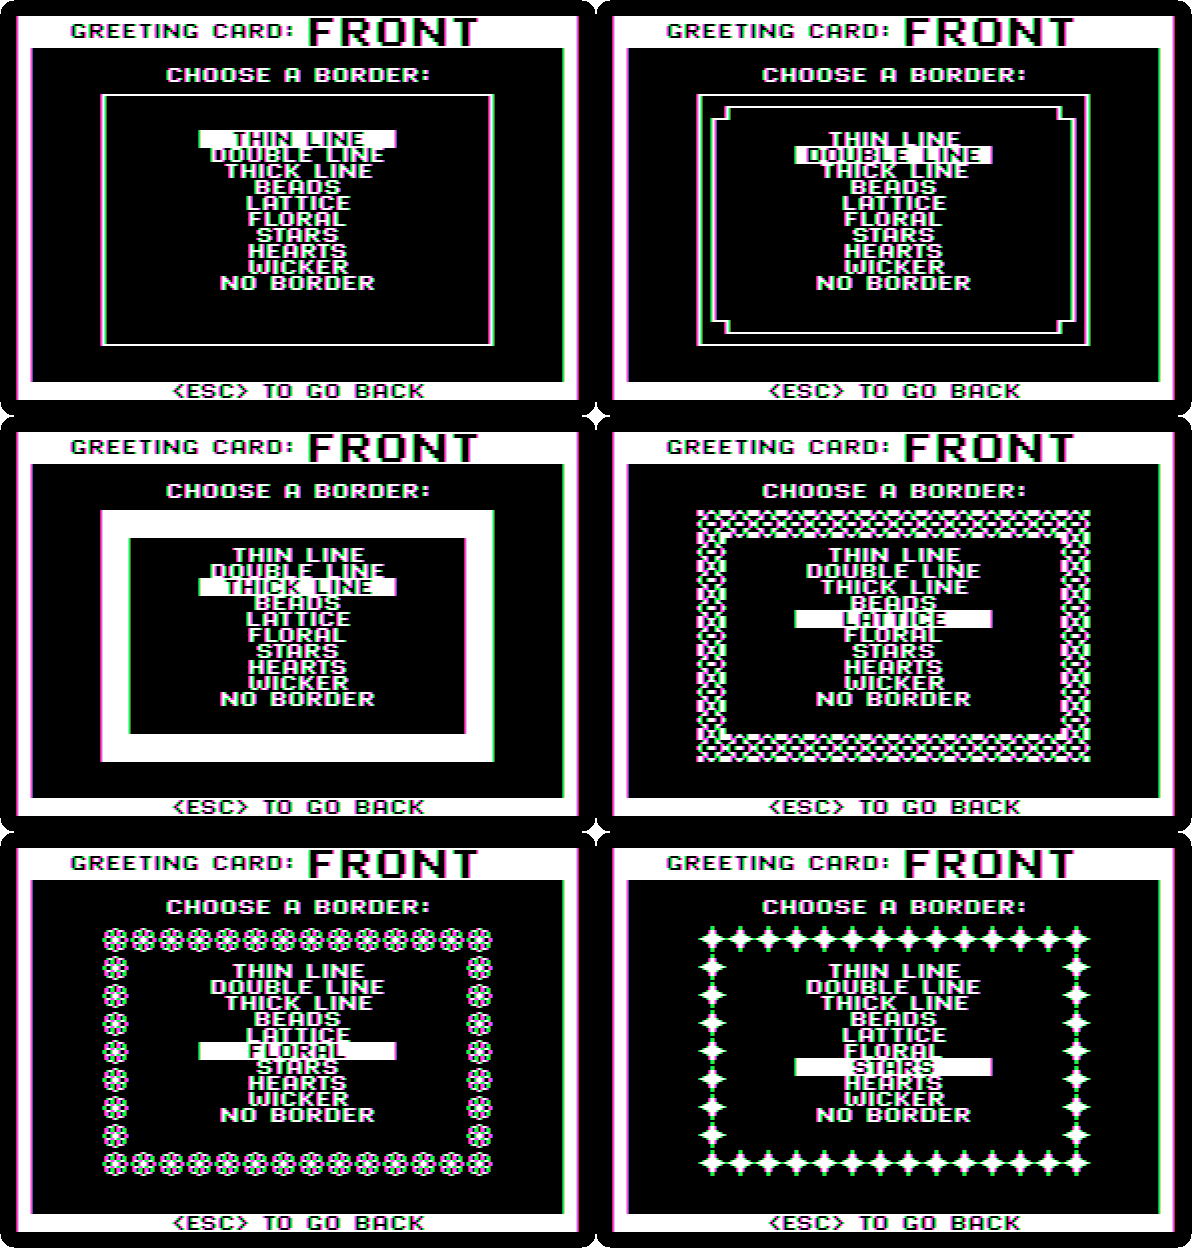
The border of the front: press → six times, to Stars, and Return. The menu shows each border as the bar passes it.
-
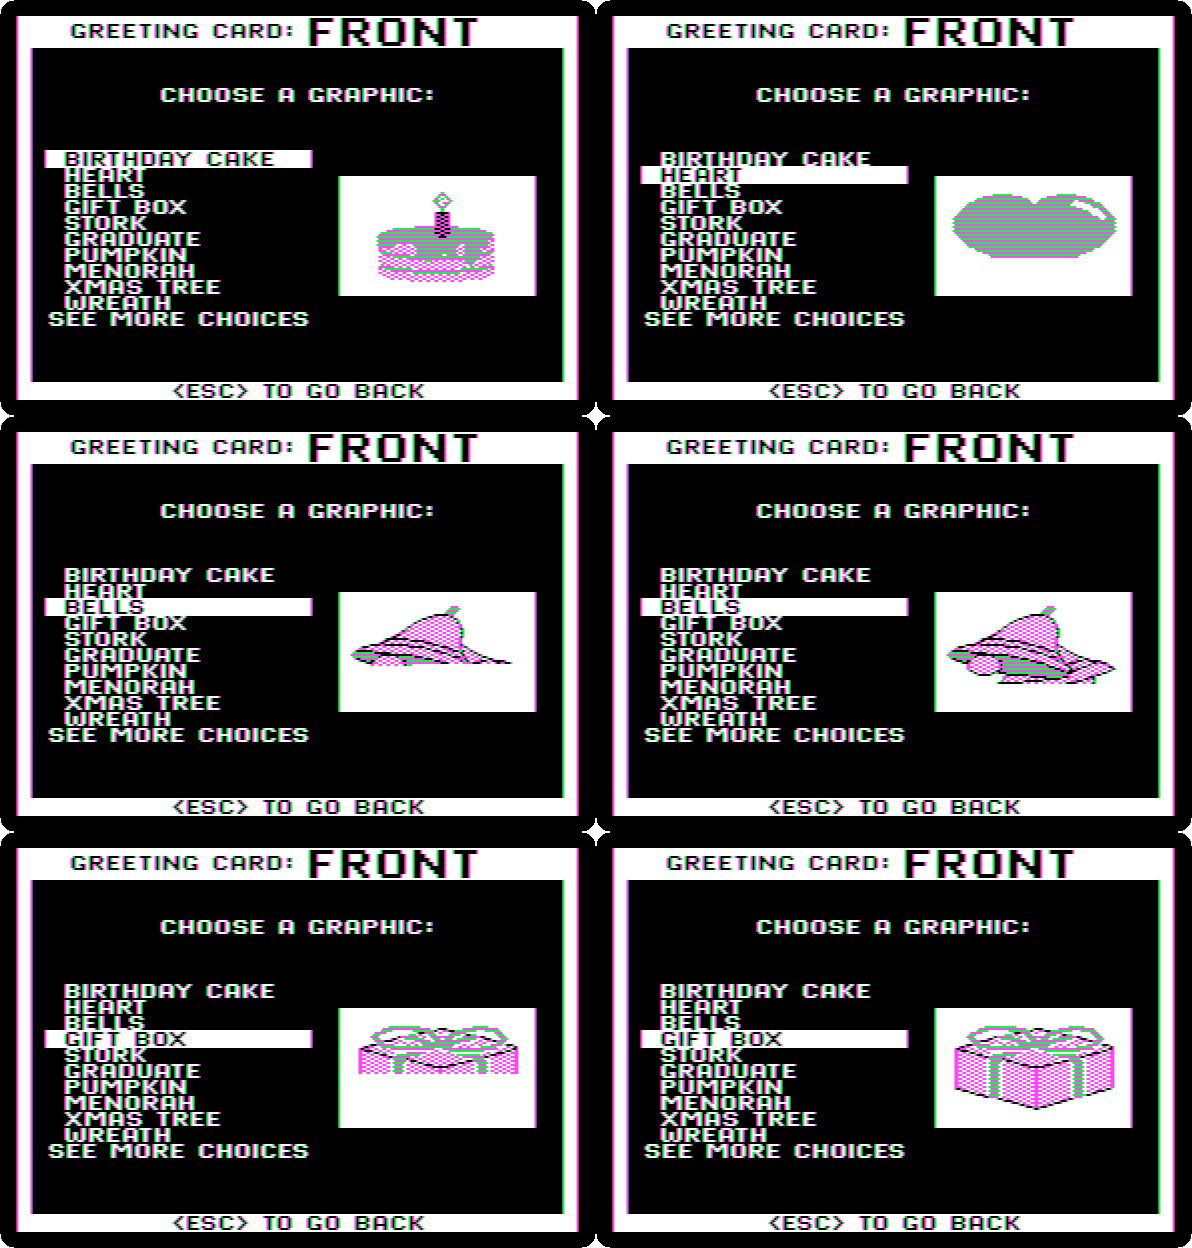
The picture: Return for By Picture, then → three times, to Gift Box, and Return. Each picture shows at the right as the bar passes it, in the colours of the screen; the printer prints them in black.
Then its size: → twice, to Large, one picture that fills the middle of the card, and Return.
-
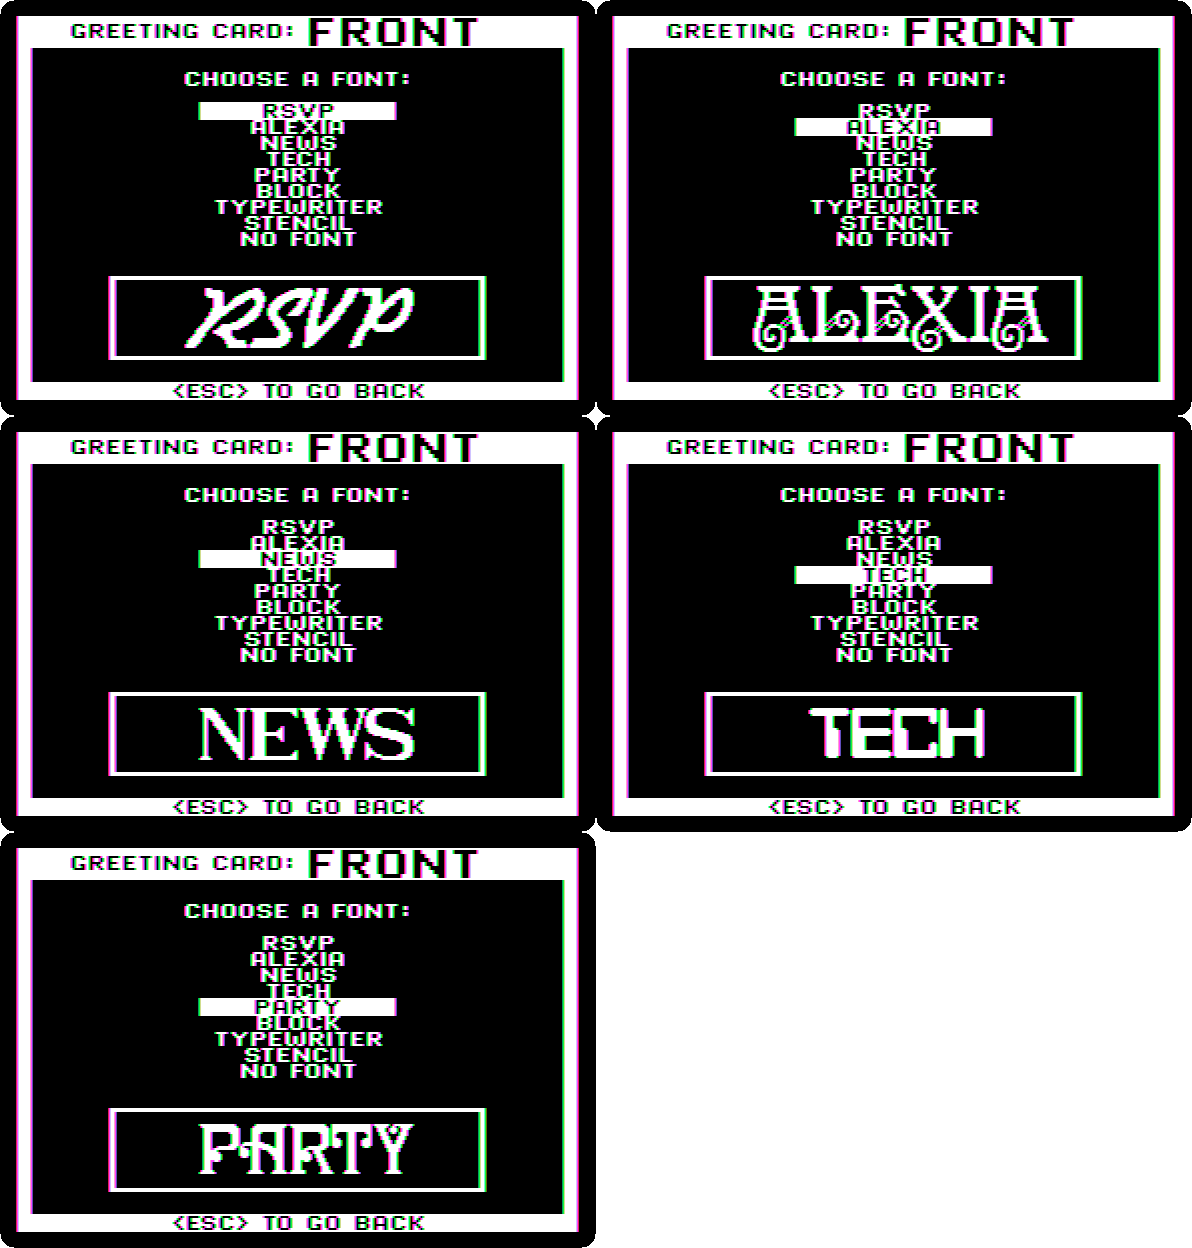
The font: → four times, to Party, and Return. Each font shows its name in it.
-
Type the message:
HAPPY, then Control-F twice and Return,BIRTHDAYand Control-F twice again. A message has a few lines, centred, the C at the right of each; Control-F changes the form of the line it is on, solid, outline or in three dimensions, the 3D at its left; Control-S its size, Control-P its place, left, centre or right, and Control-E erases it. Control-I shows all of them. The editor shows the text in its own letters, not in the font.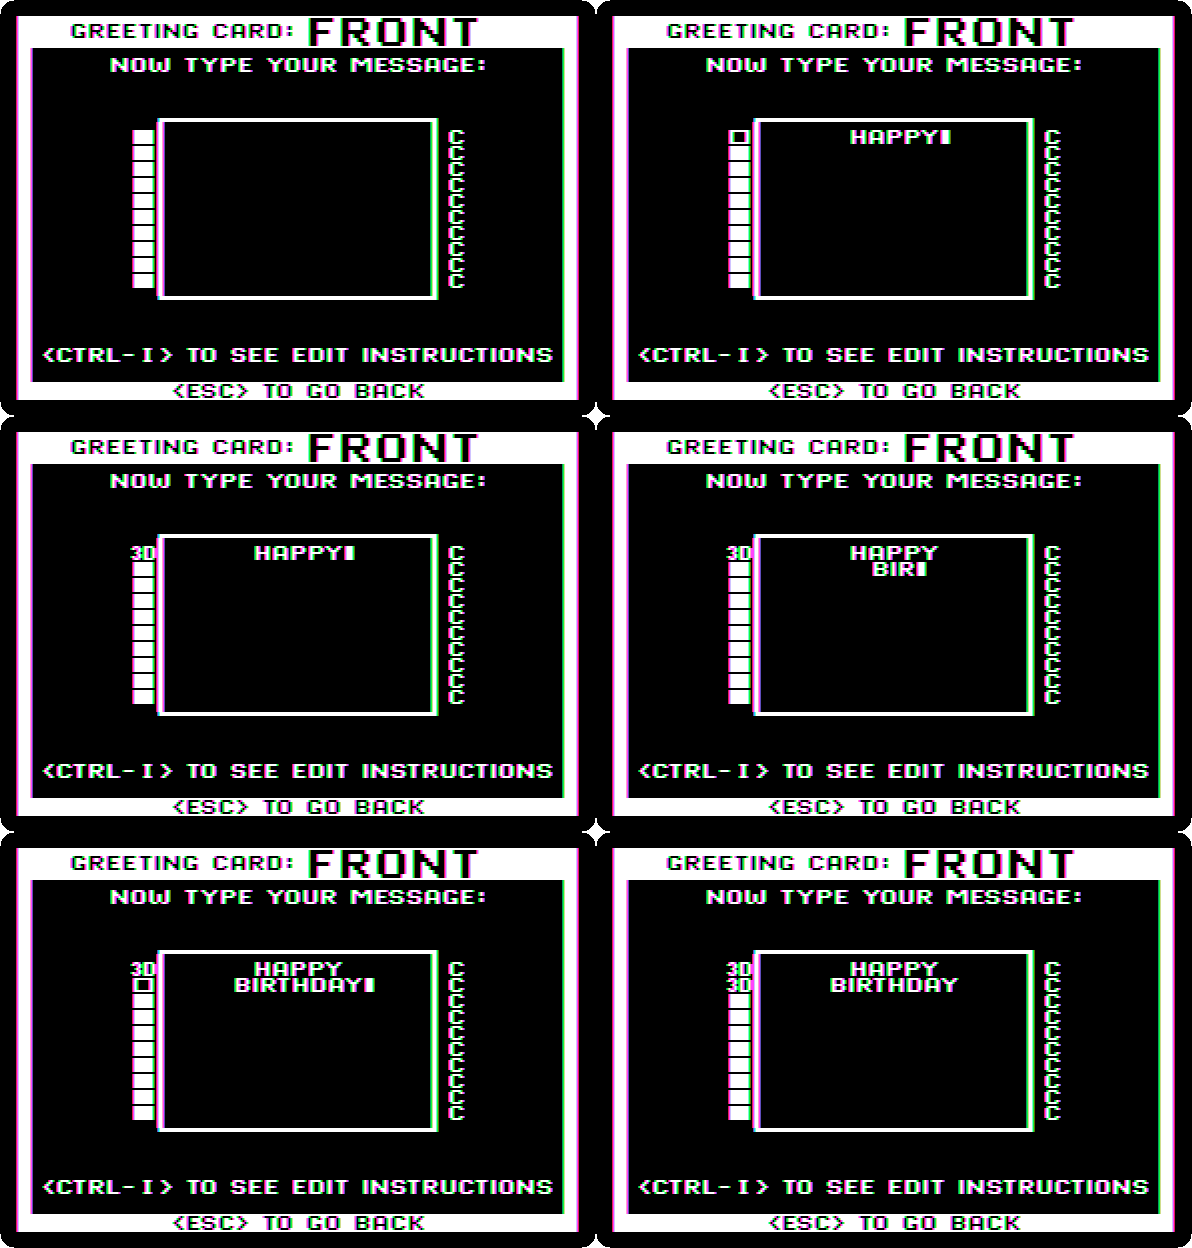
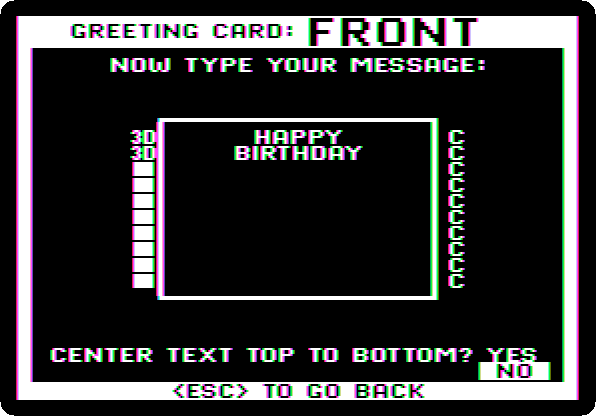
Press Return down to the last line. It asks if the text goes in the middle of the card, top to bottom: → to No and Return, to keep it at the top, over the picture.
-
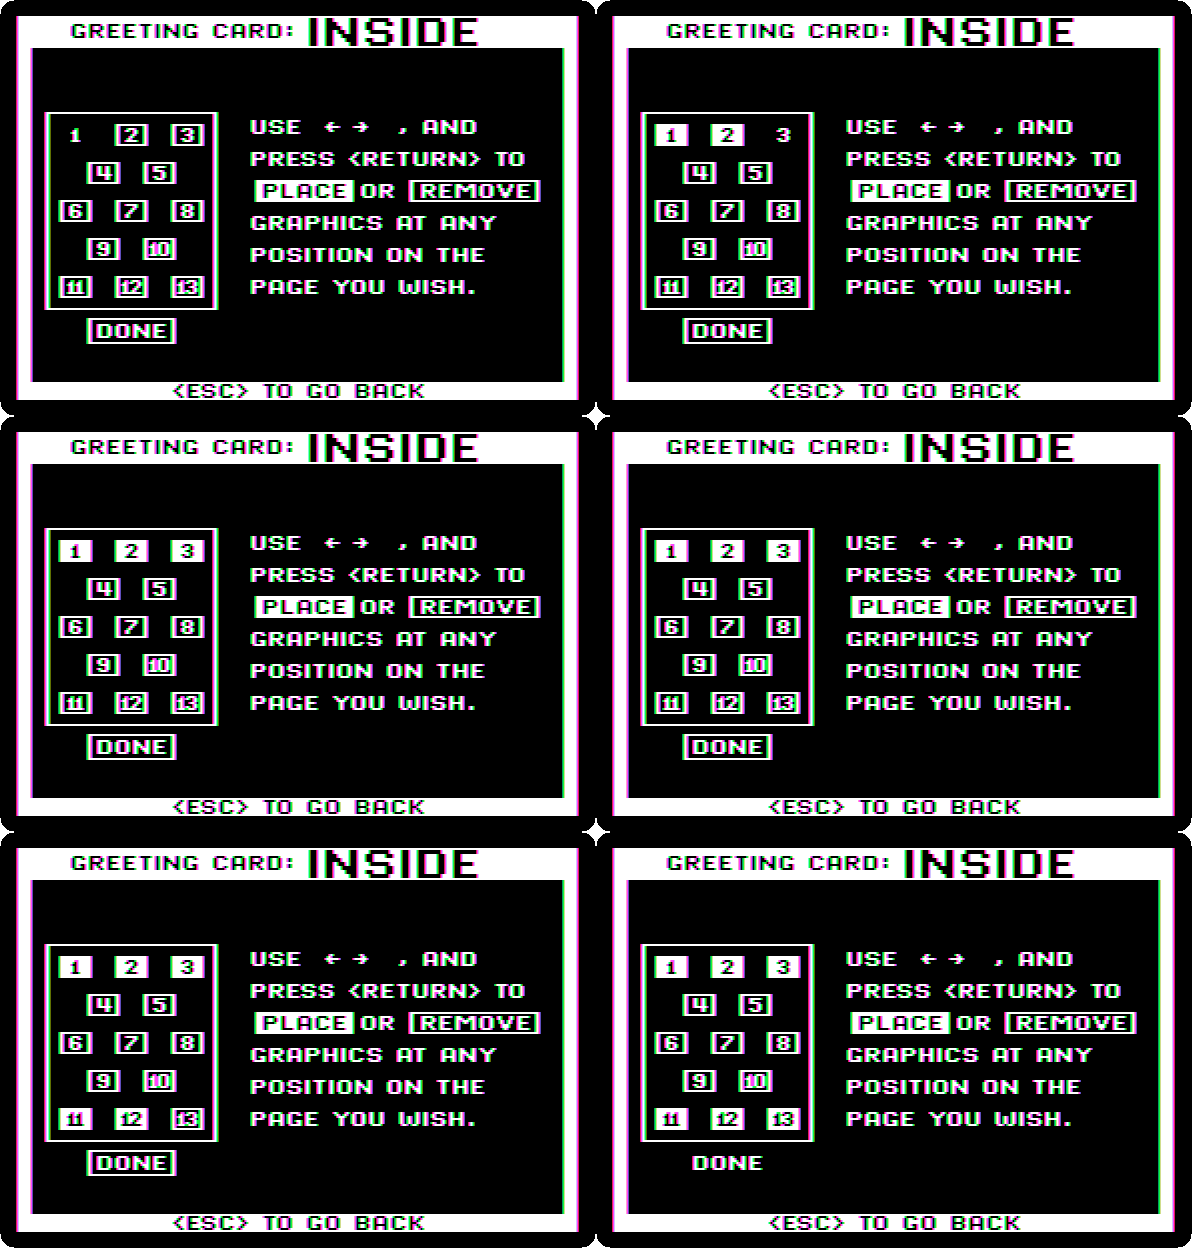
The inside, the same way: Return for the Thin Line border, Return for By Picture and Return for the Birthday Cake, the first, and Return for Small. A small picture can be put in more than one place: → twice, to Custom Layout, and Return. The page has thirteen places; Return puts a cake where the cursor is, and → moves on. Three at the top, 1 to 3, and three at the bottom, 11 to 13, leave the middle for the text; → to DONE and Return.
-
→ once, to Alexia and Return, and type
MANY HAPPY, Return,RETURNS, Return,ADA. Return down to the last line, and Return for Yes, in the middle this time.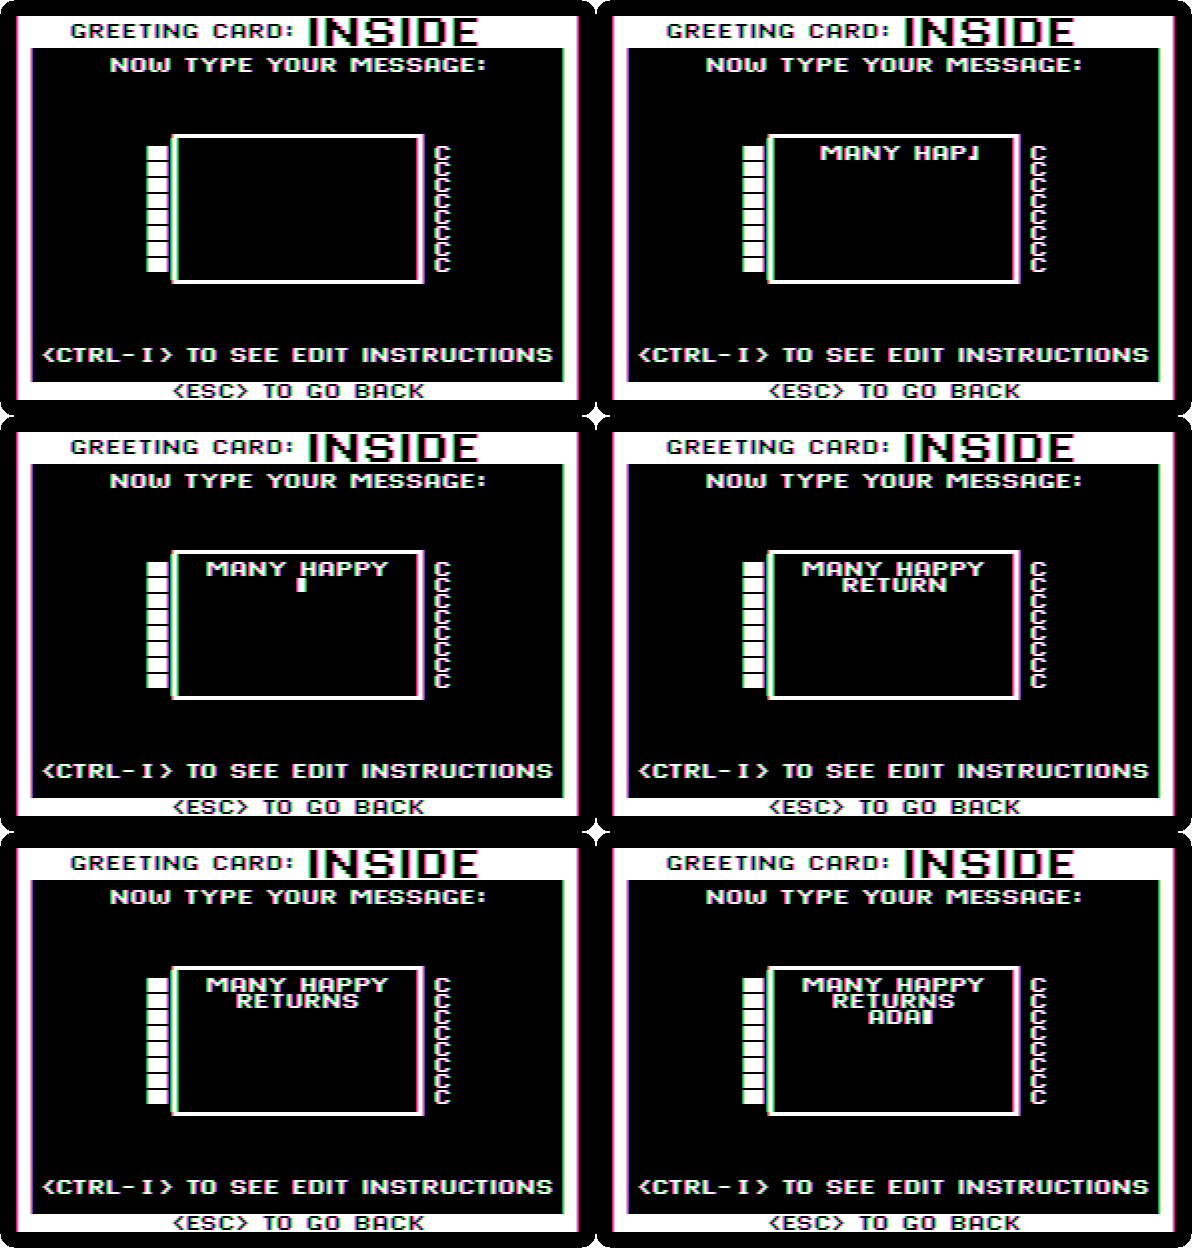
-
The menu of printing. Return for Give Yourself Credit and type a line for the back of the card,
MADE ON AN APPLE II, and Return.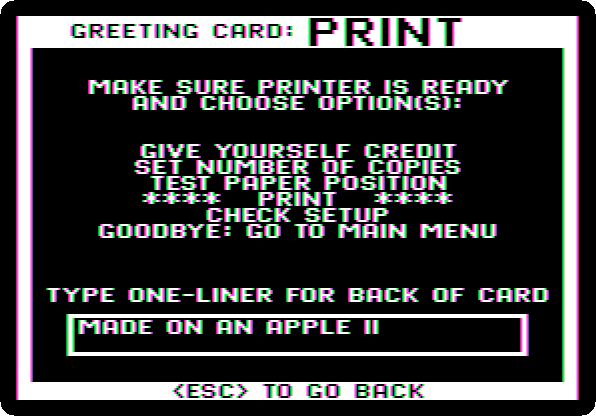
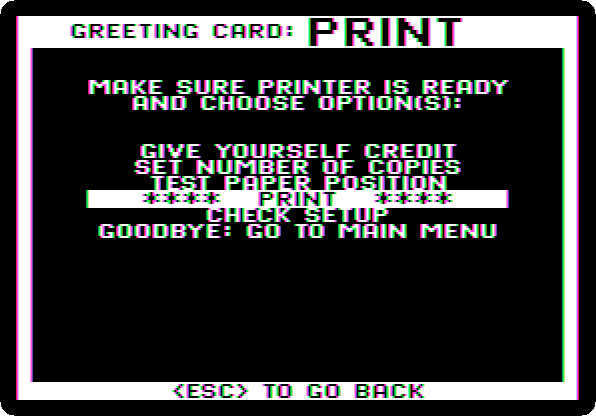
→ twice, to Print, and Return.
-
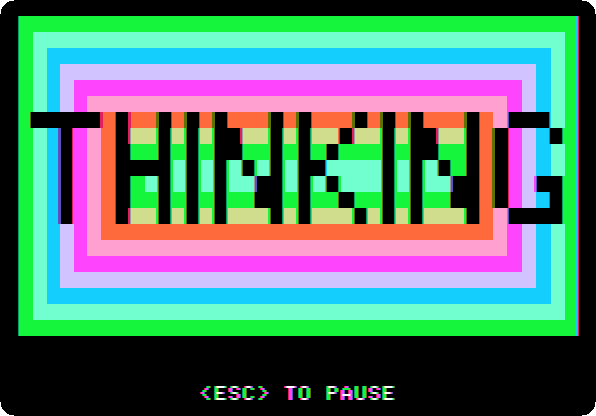
Wait. The Print Shop works out each part of the card before it prints it, a few seconds each, with the colours of THINKING on the screen. The card takes almost two minutes, with a printer that takes all at once; an ImageWriter took longer, printing.
It is printed on one sheet, to be folded in four: the front at the bottom right, the inside upside down at the top left, which turns the right way up when the sheet is folded, and the line of credit at the bottom left, on the back.
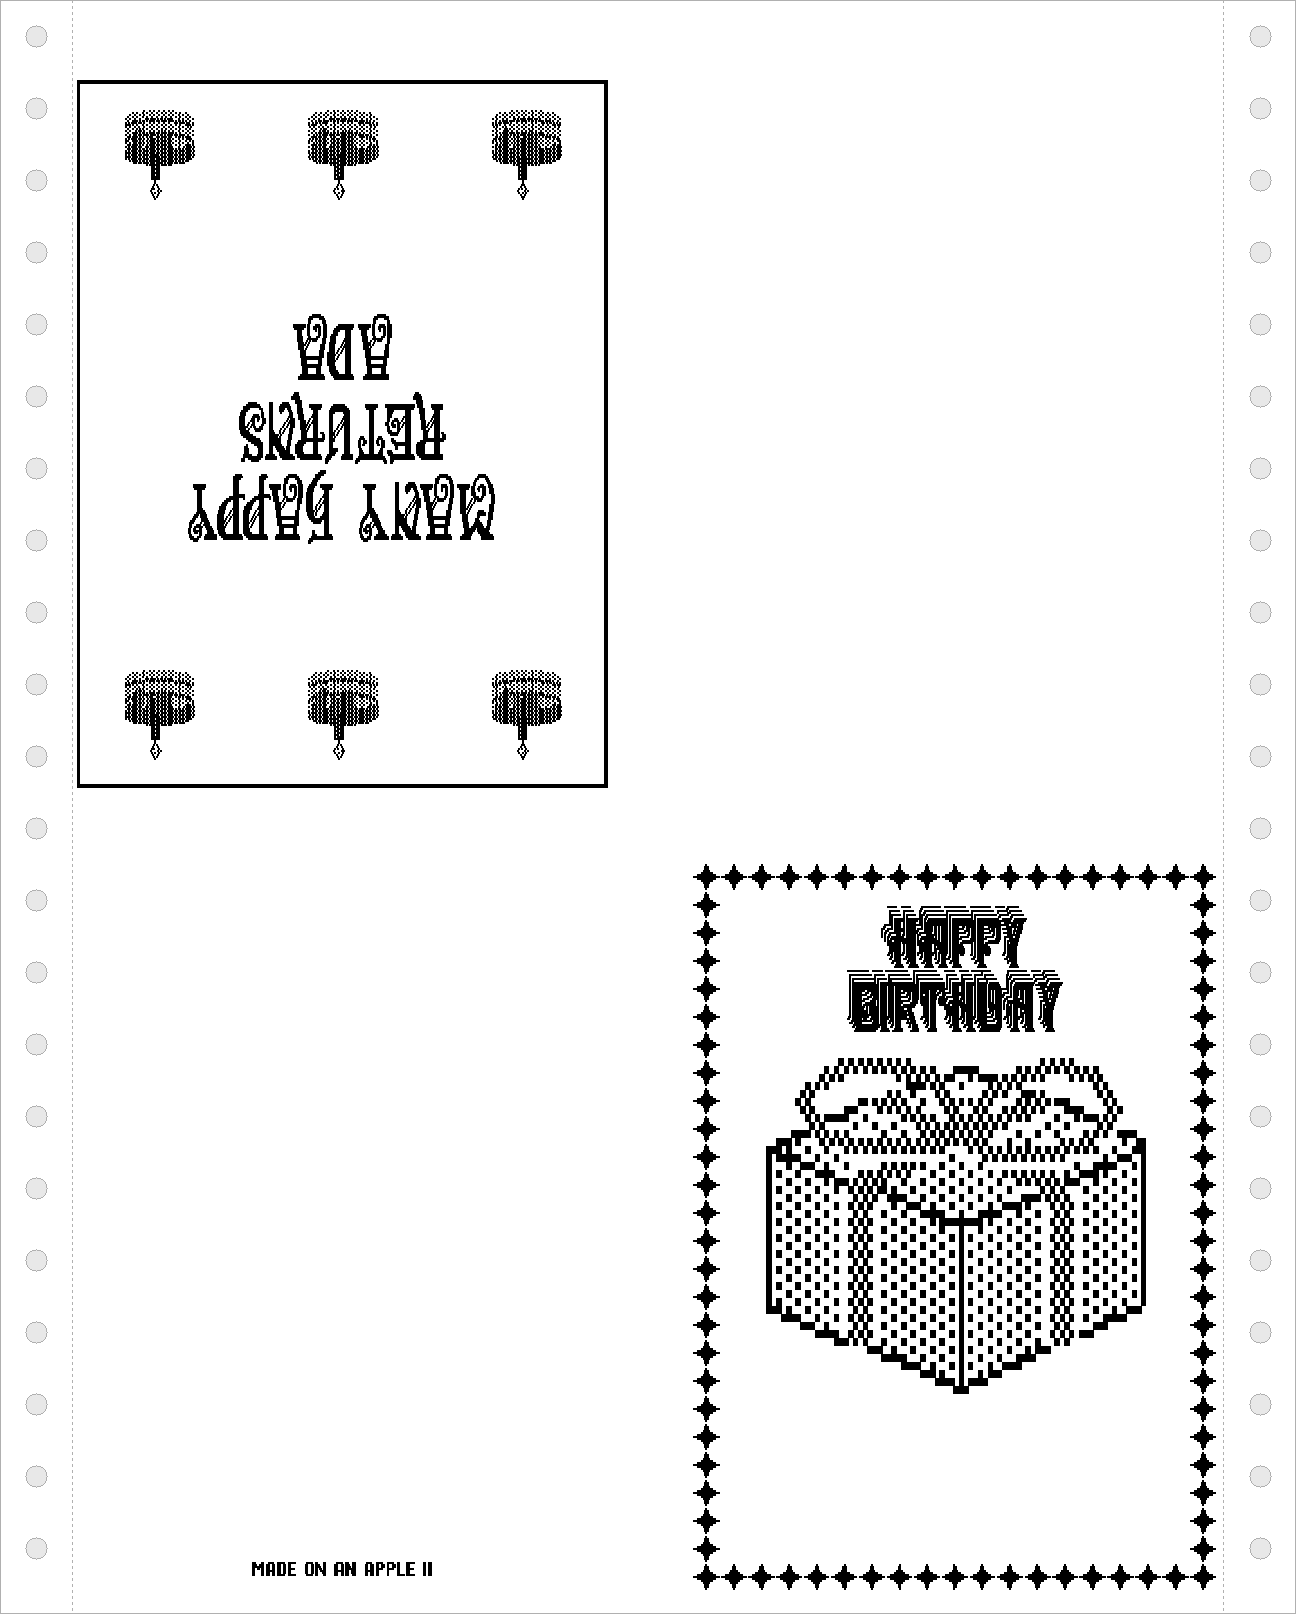
When it is done, → twice, to Goodbye: Go To Main Menu, Return, and Return again to say yes.
A sign
-
Choose Sign, a page with large letters, and → twice and Return for the Thick Line border. Return for By Picture, and → ten times, to See More Choices, and Return: the second page of pictures. → twice, to Apple, and Return; → twice and Return for Large.
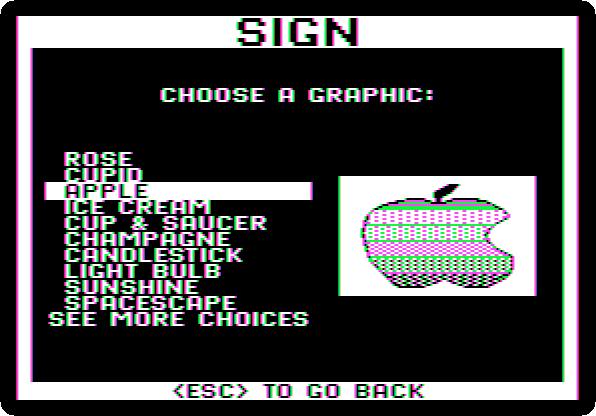
-
→ seven times, to Stencil, and Return. Type
APPLE II CLUB, press Return twelve times, down near the bottom, and typeMEETS TONIGHT: the text above the apple and under it. Return to the end, and → to No and Return, not in the middle.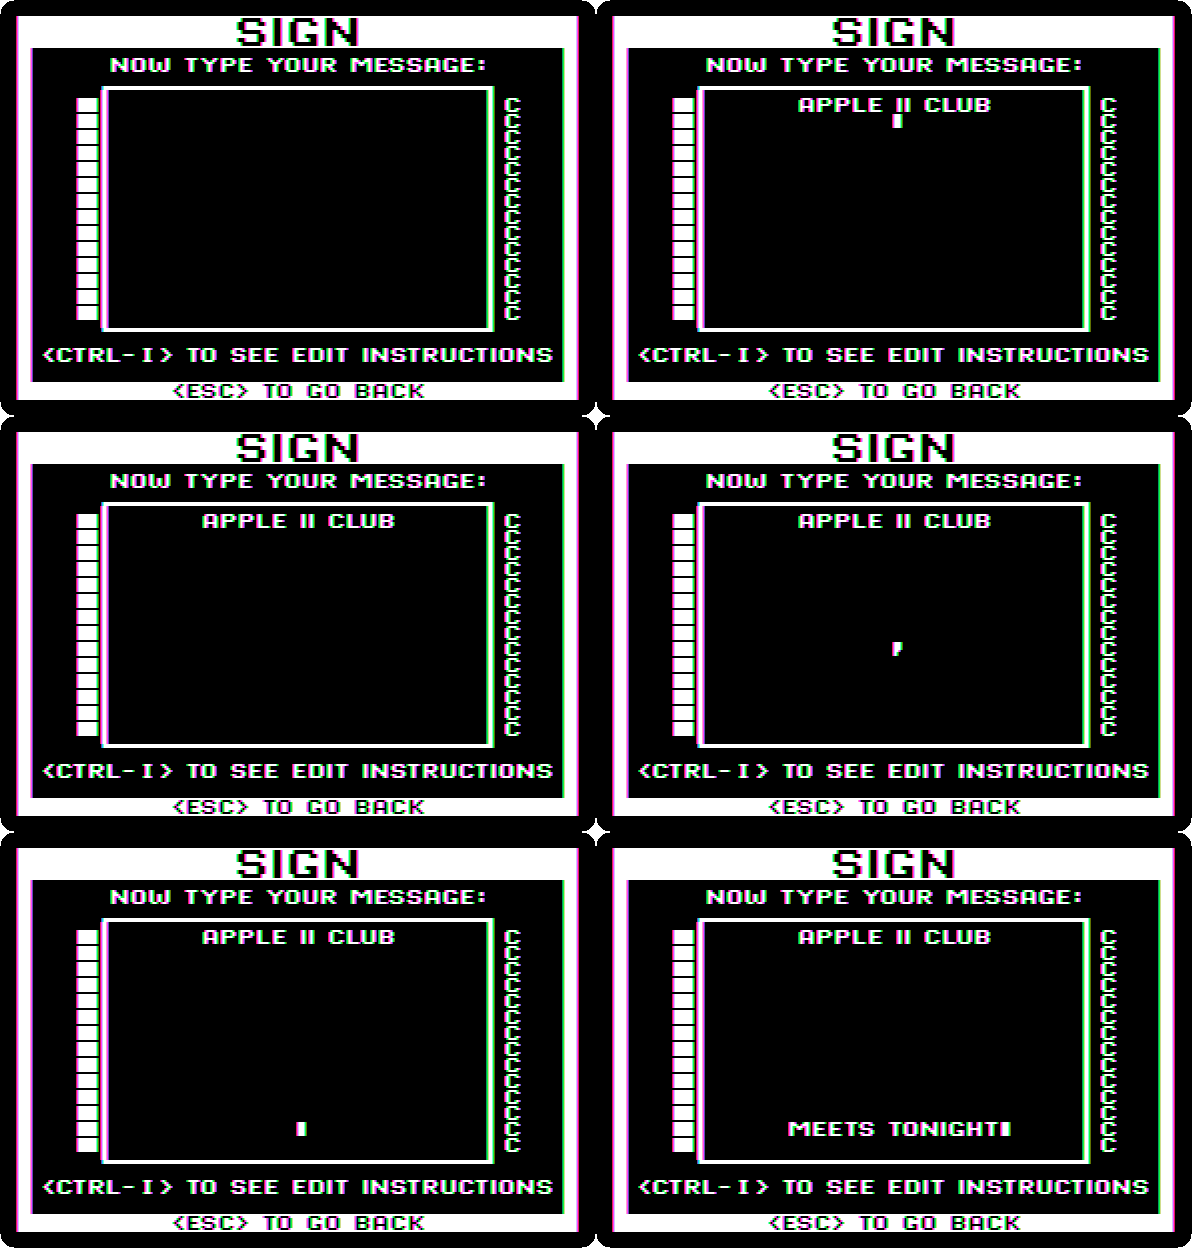
-
→ twice, to Print, and Return. A minute later:
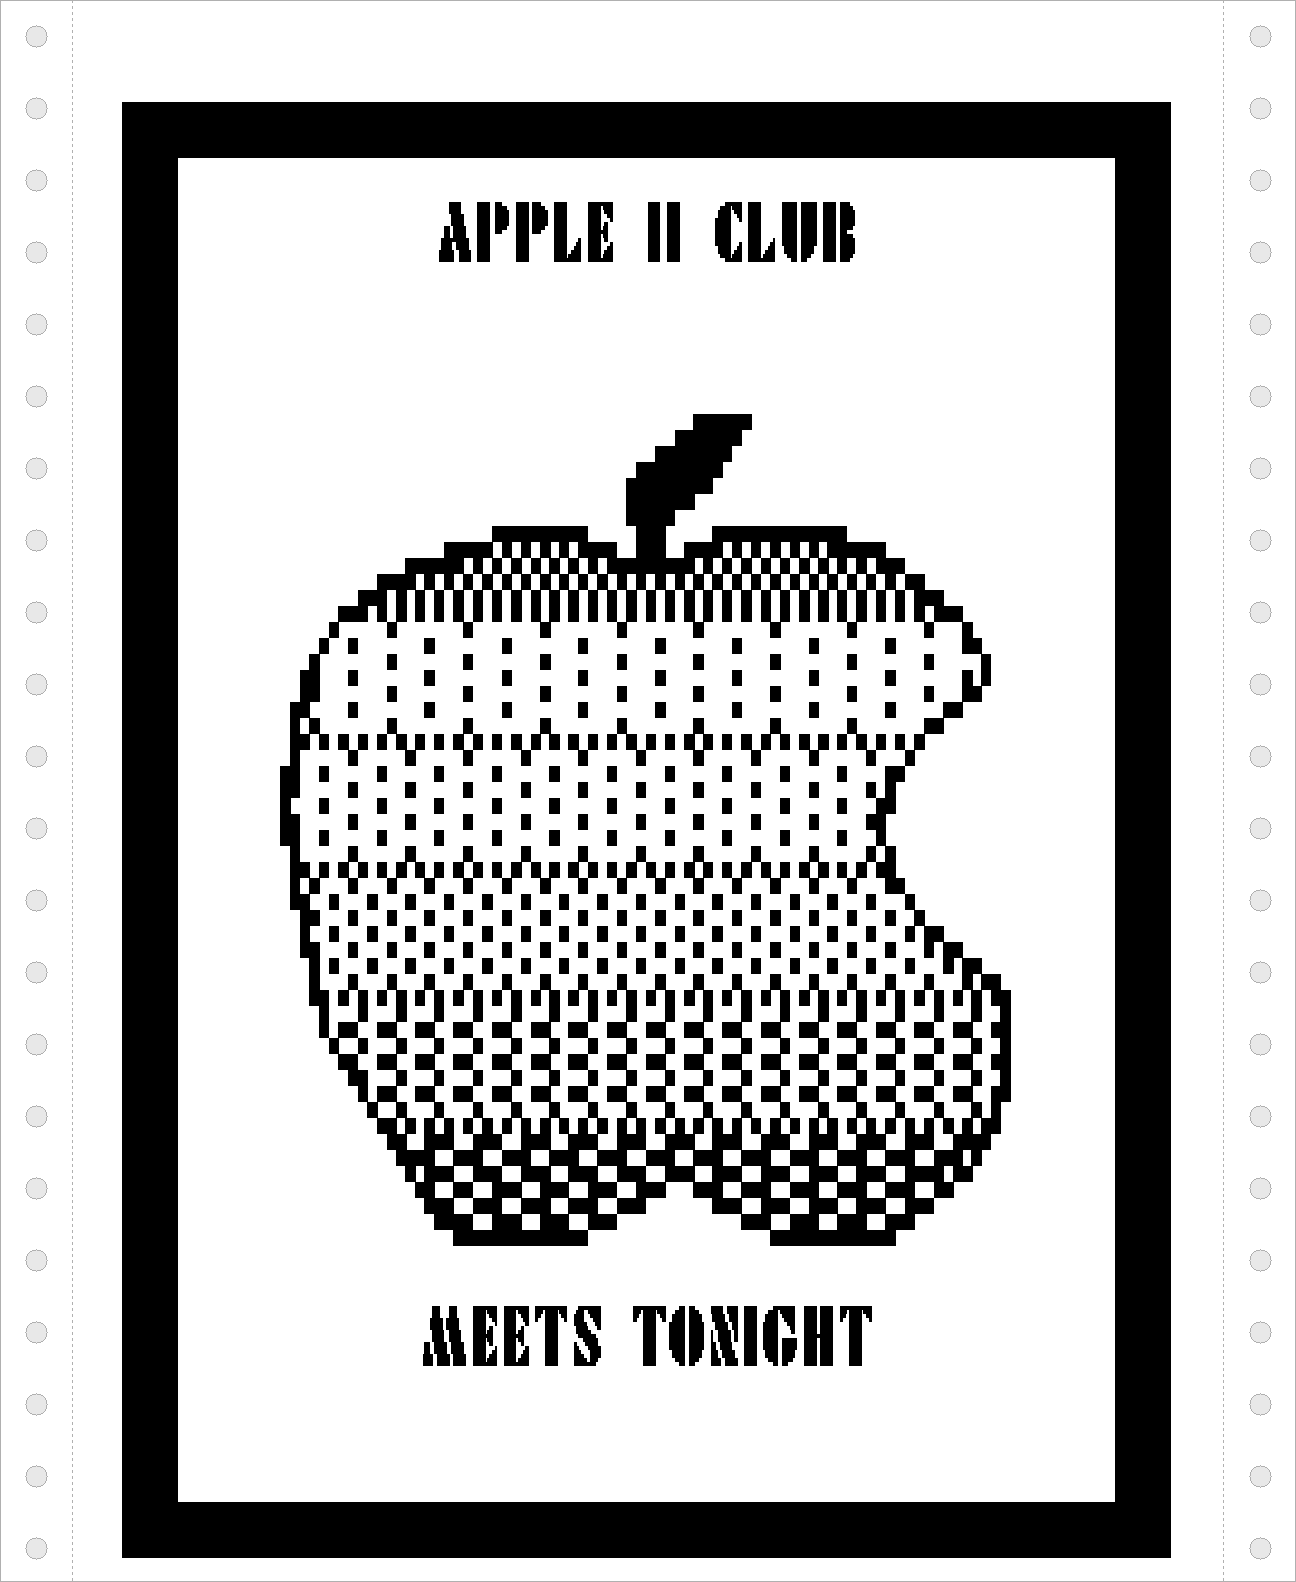
→ twice, Return and Return back to the main menu.
A banner
-
Choose Banner, a message in letters as tall as the paper is wide, printed along a continuous paper. → four times, to Party, and Return, and Return for Solid letters, not outlined. Type
HAPPY BIRTHDAY ADAand Return.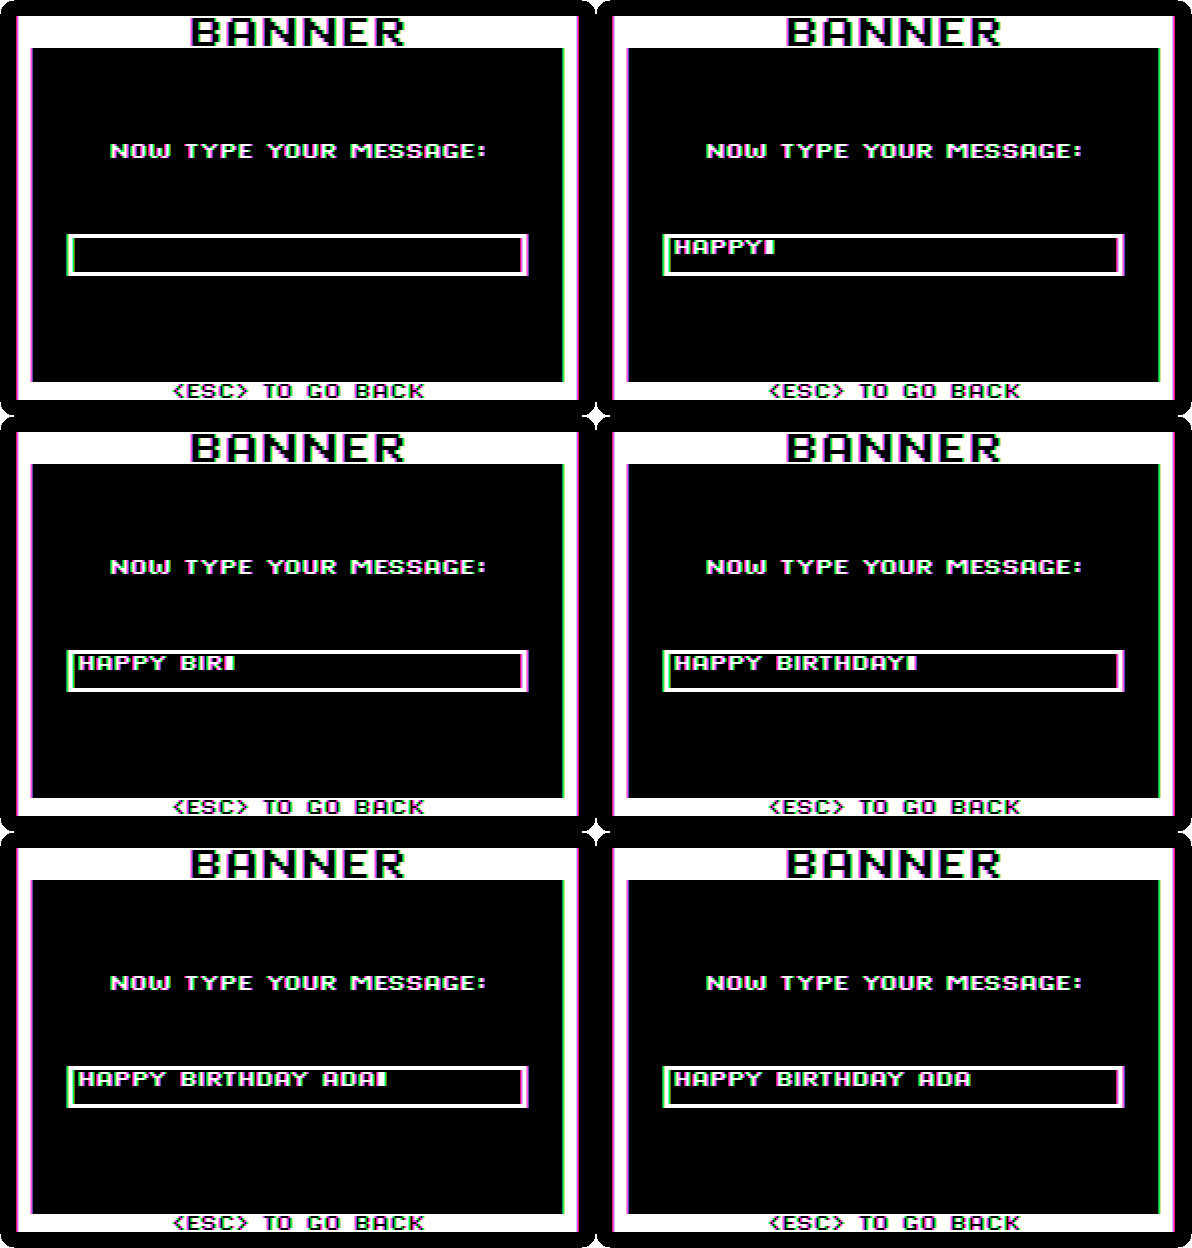
-
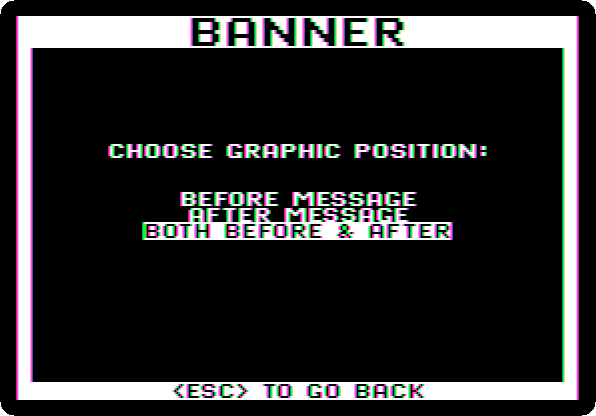
Return for By Picture, Return for the Birthday Cake, and → twice, to Both Before & After: a cake at each end. Return.
-
→ to Print and Return. More than two minutes later, the banner, about 70 inches of paper, a little less than two metres. It is printed down the paper; the picture is turned to be read as it hangs.

→ twice, Return and Return back to the main menu.
Screen Magic
-
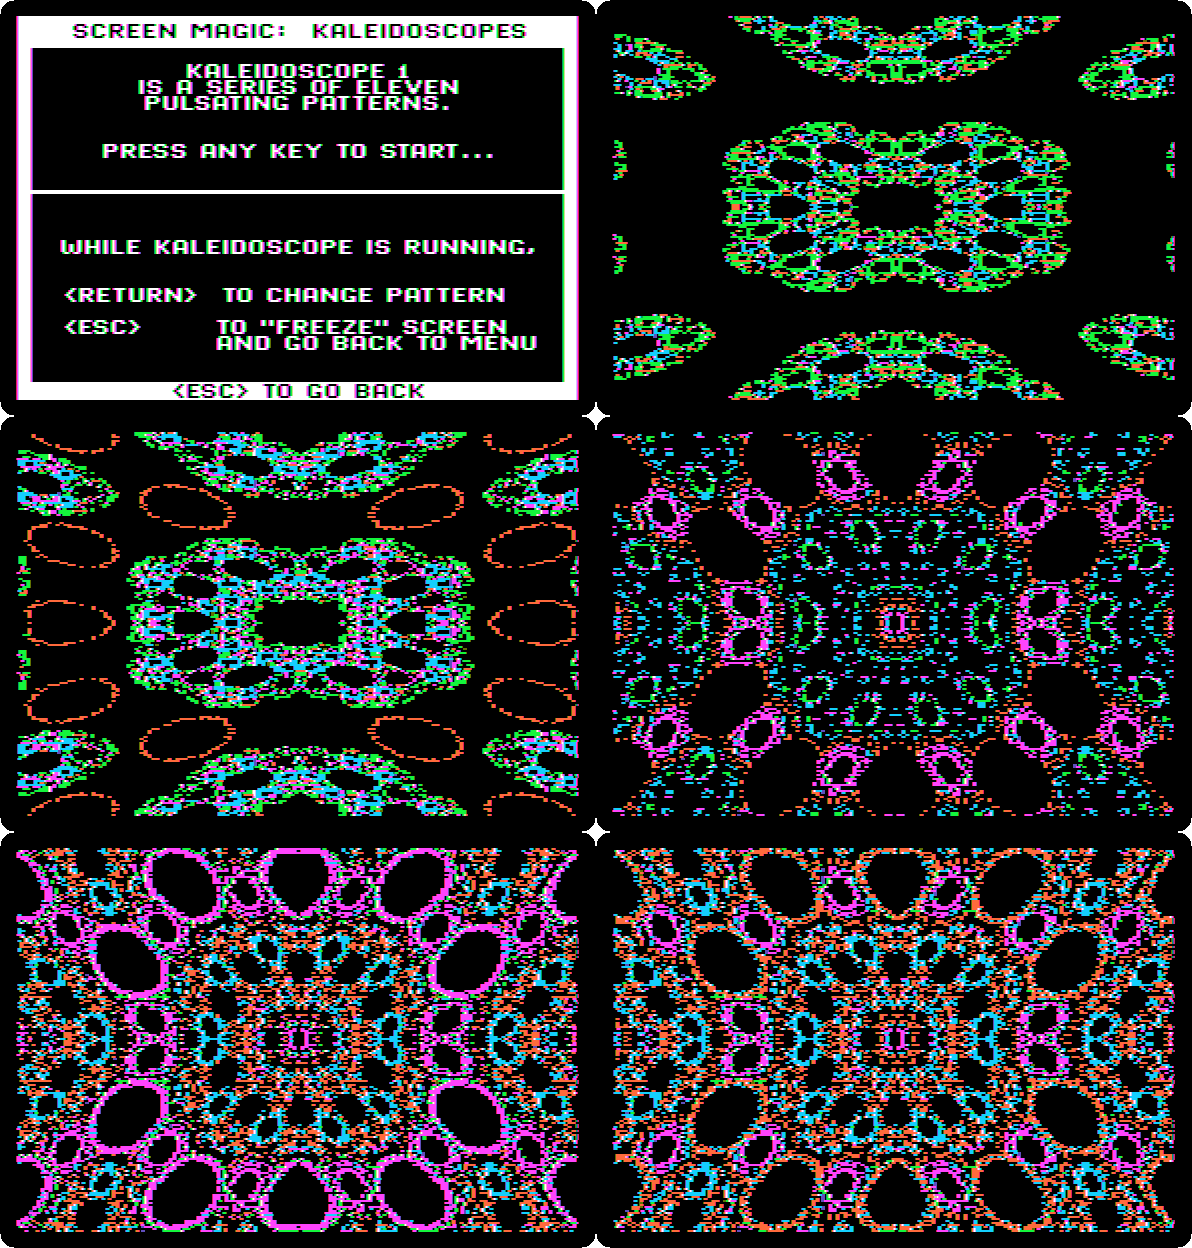
Choose Screen Magic: kaleidoscopes, text on the screen, and a screen saved, loaded or printed. Return for See Kaleidoscopes, Return for Kaleidoscope 1, eleven patterns that pulse, and any key to start. Return changes the pattern. At the speed of the machine:
-
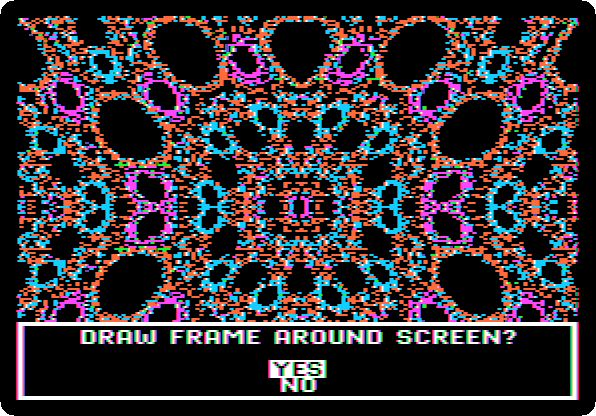
Press Escape: the pattern freezes, and the program goes back to its menu, the screen kept. → four times, to Print Screen, and Return, Return to go on, and Return for Normal, the dots that are lit printed in ink. Return for Yes, a frame around it.
-
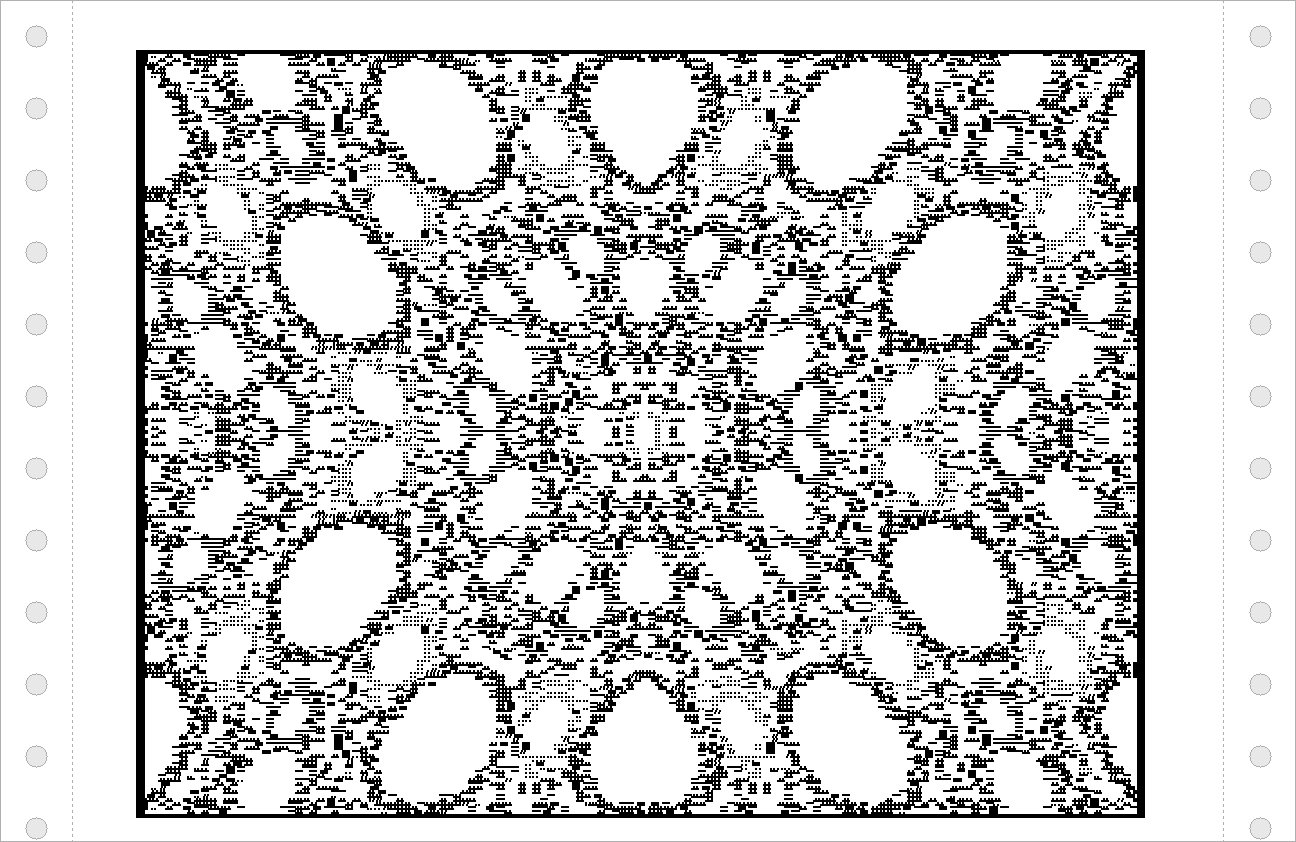
→ twice, to Print On Top Half Of Paper, and Return. The screen, printed, its colours a pattern of dots in black:
What next
Next: Pinball Construction Set.
Printing prints from BASIC, on the same card; Fantavision: drawings that move is another program of Broderbund’s for pictures, of 1985.